Backing up to Amazon S3 with Restic
January 15, 2024
This is the easiest backup solution I've found! I'm backing up production servers to specific S3 buckets using Restic.
Create a new S3 bucket
Log in to your S3 console and create a new bucket. You'll want to give it a sensible name - I like something like benholmen.server-name.backup - and be sure that you don't enable public access.

Create AWS credentials
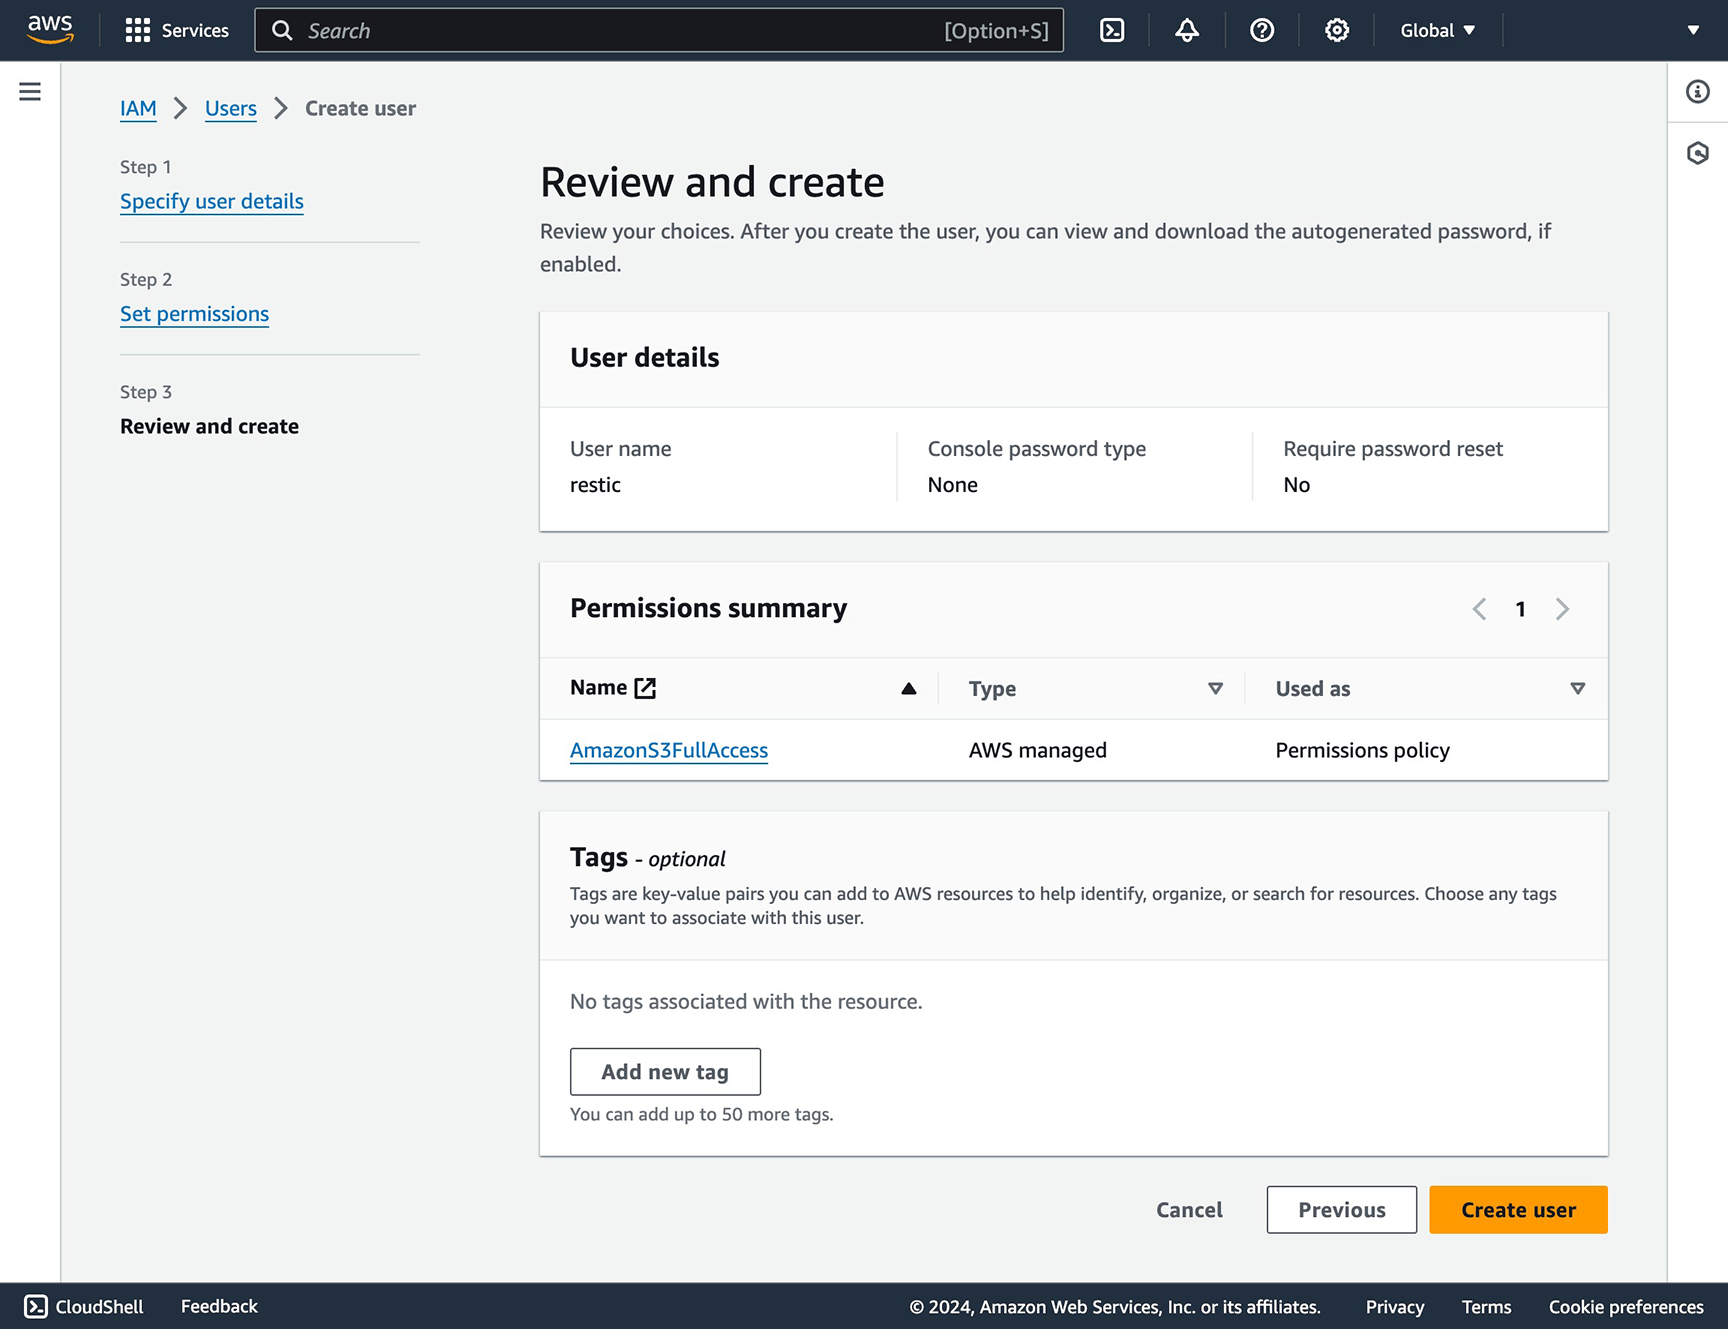
You'll want to create some credentials specially for Restic, so head over to IAM > Users. Click Create User, give it a username, then set permissions on Step 2.
Since this user should only be able to access S3 and no other AWS assets, pick Attach policies directly and search for AmazonS3FullAccess. Check the box next to AmazonS3FullAccess and click Next to review. Click Create user to make it official.
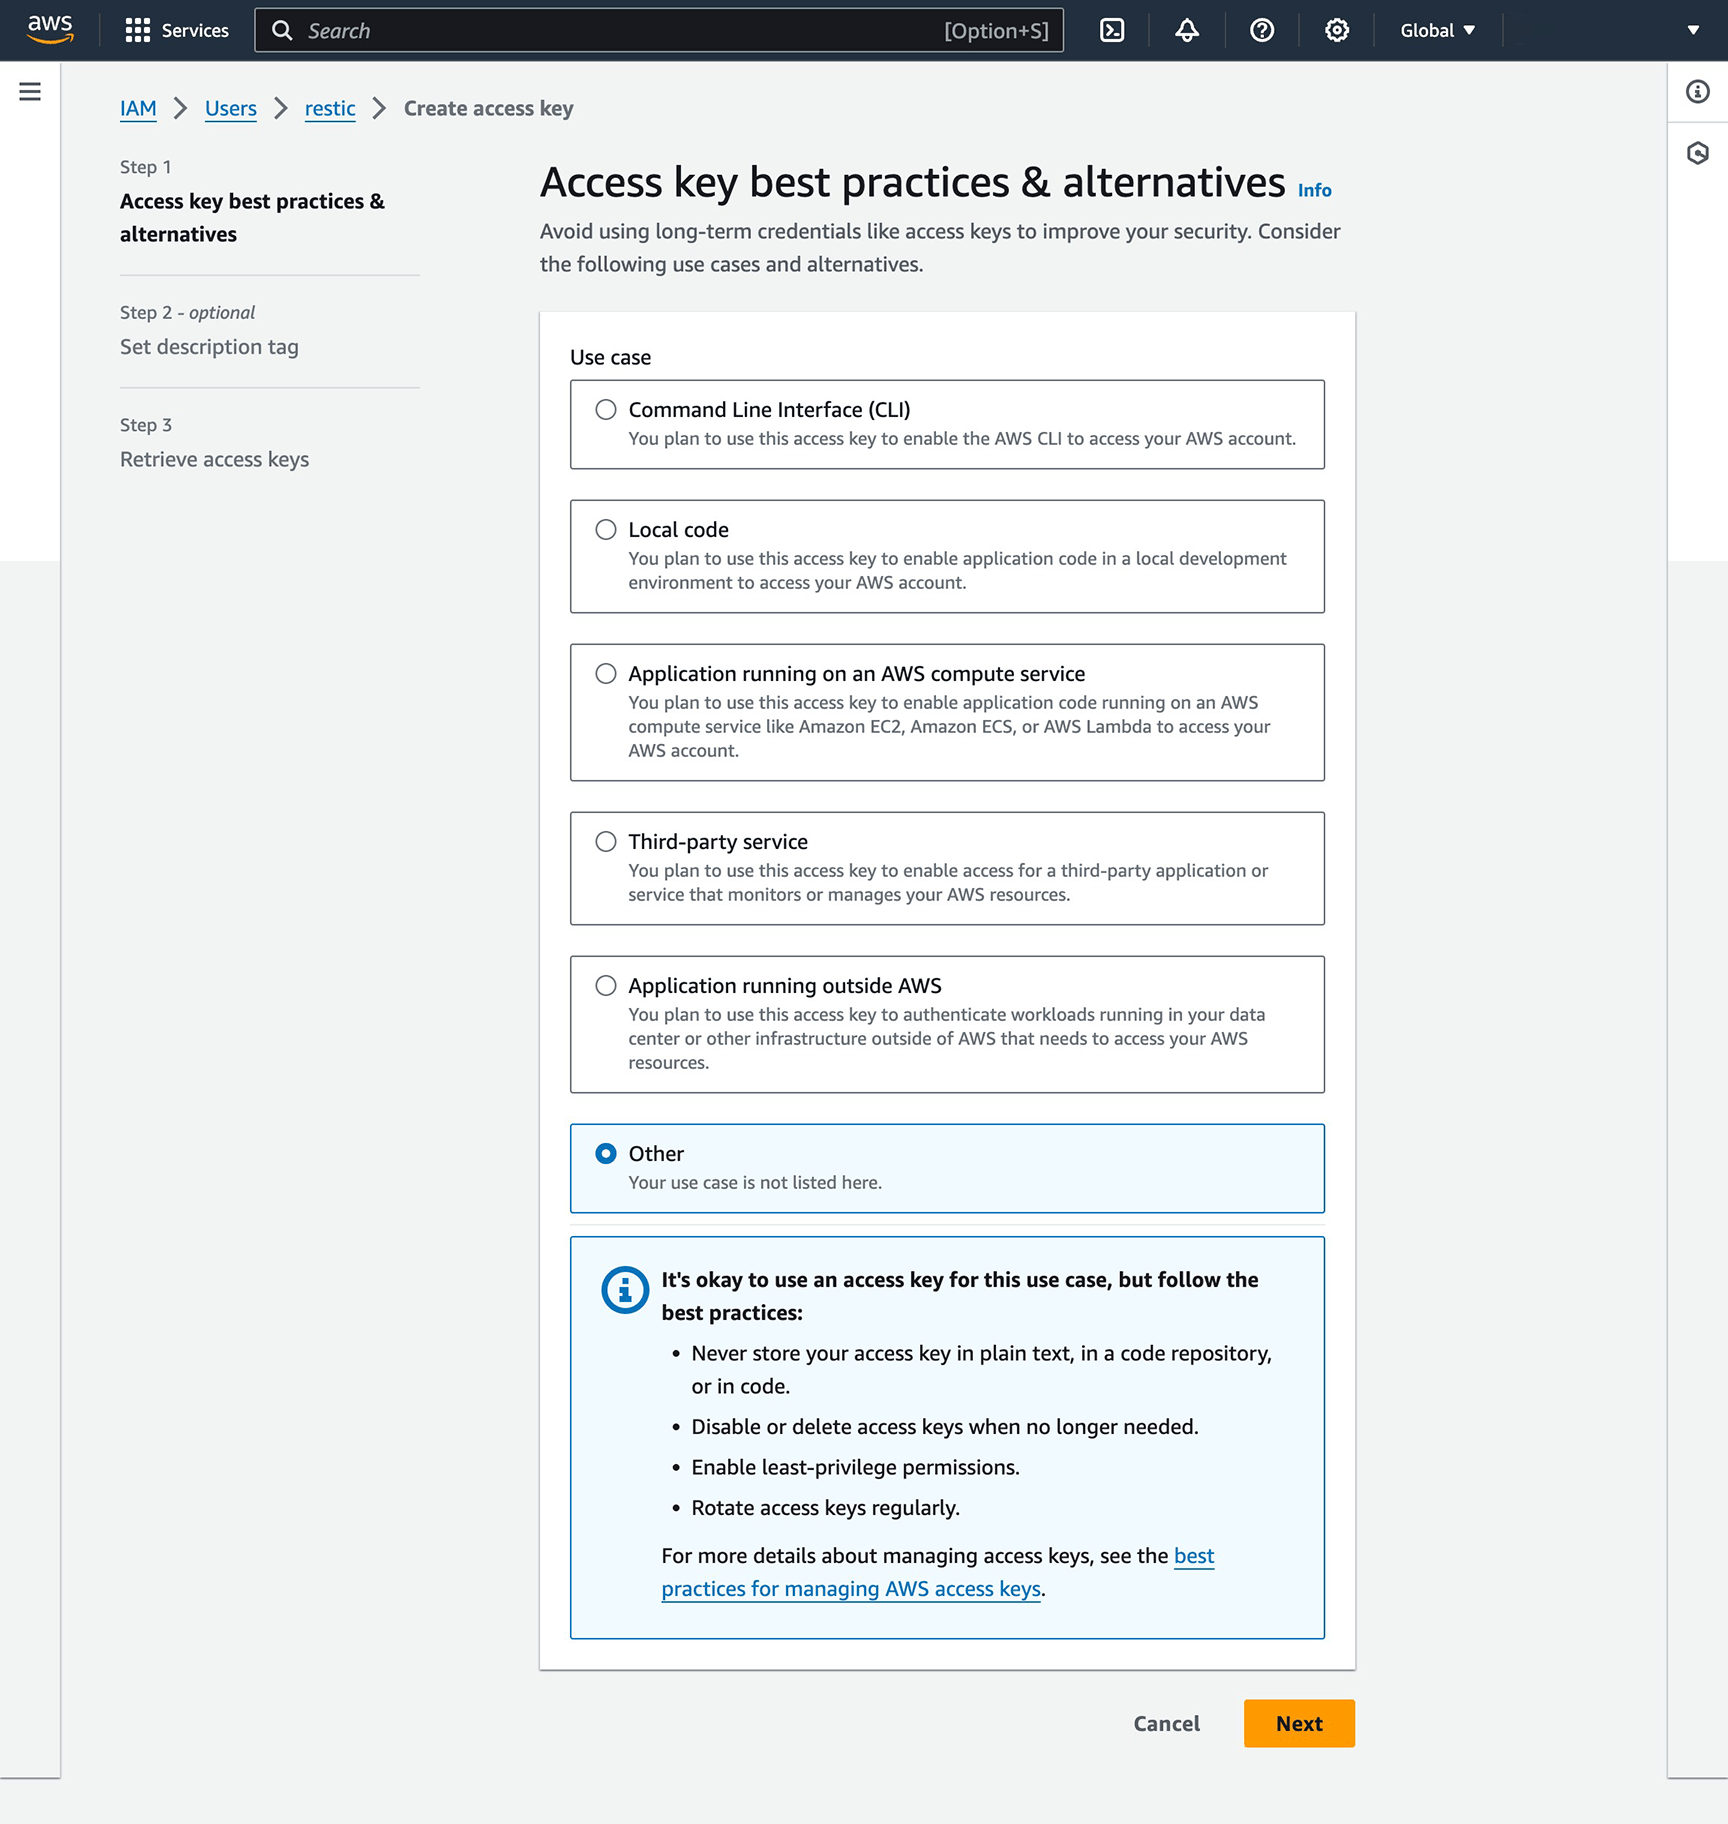
You'll now need to generate an access key for your new user. View the newly created user, click Security credentials, and click Create access key. AWS has a number of different tools for authenticating and most of these options will steer you to another option - click Other and proceed.
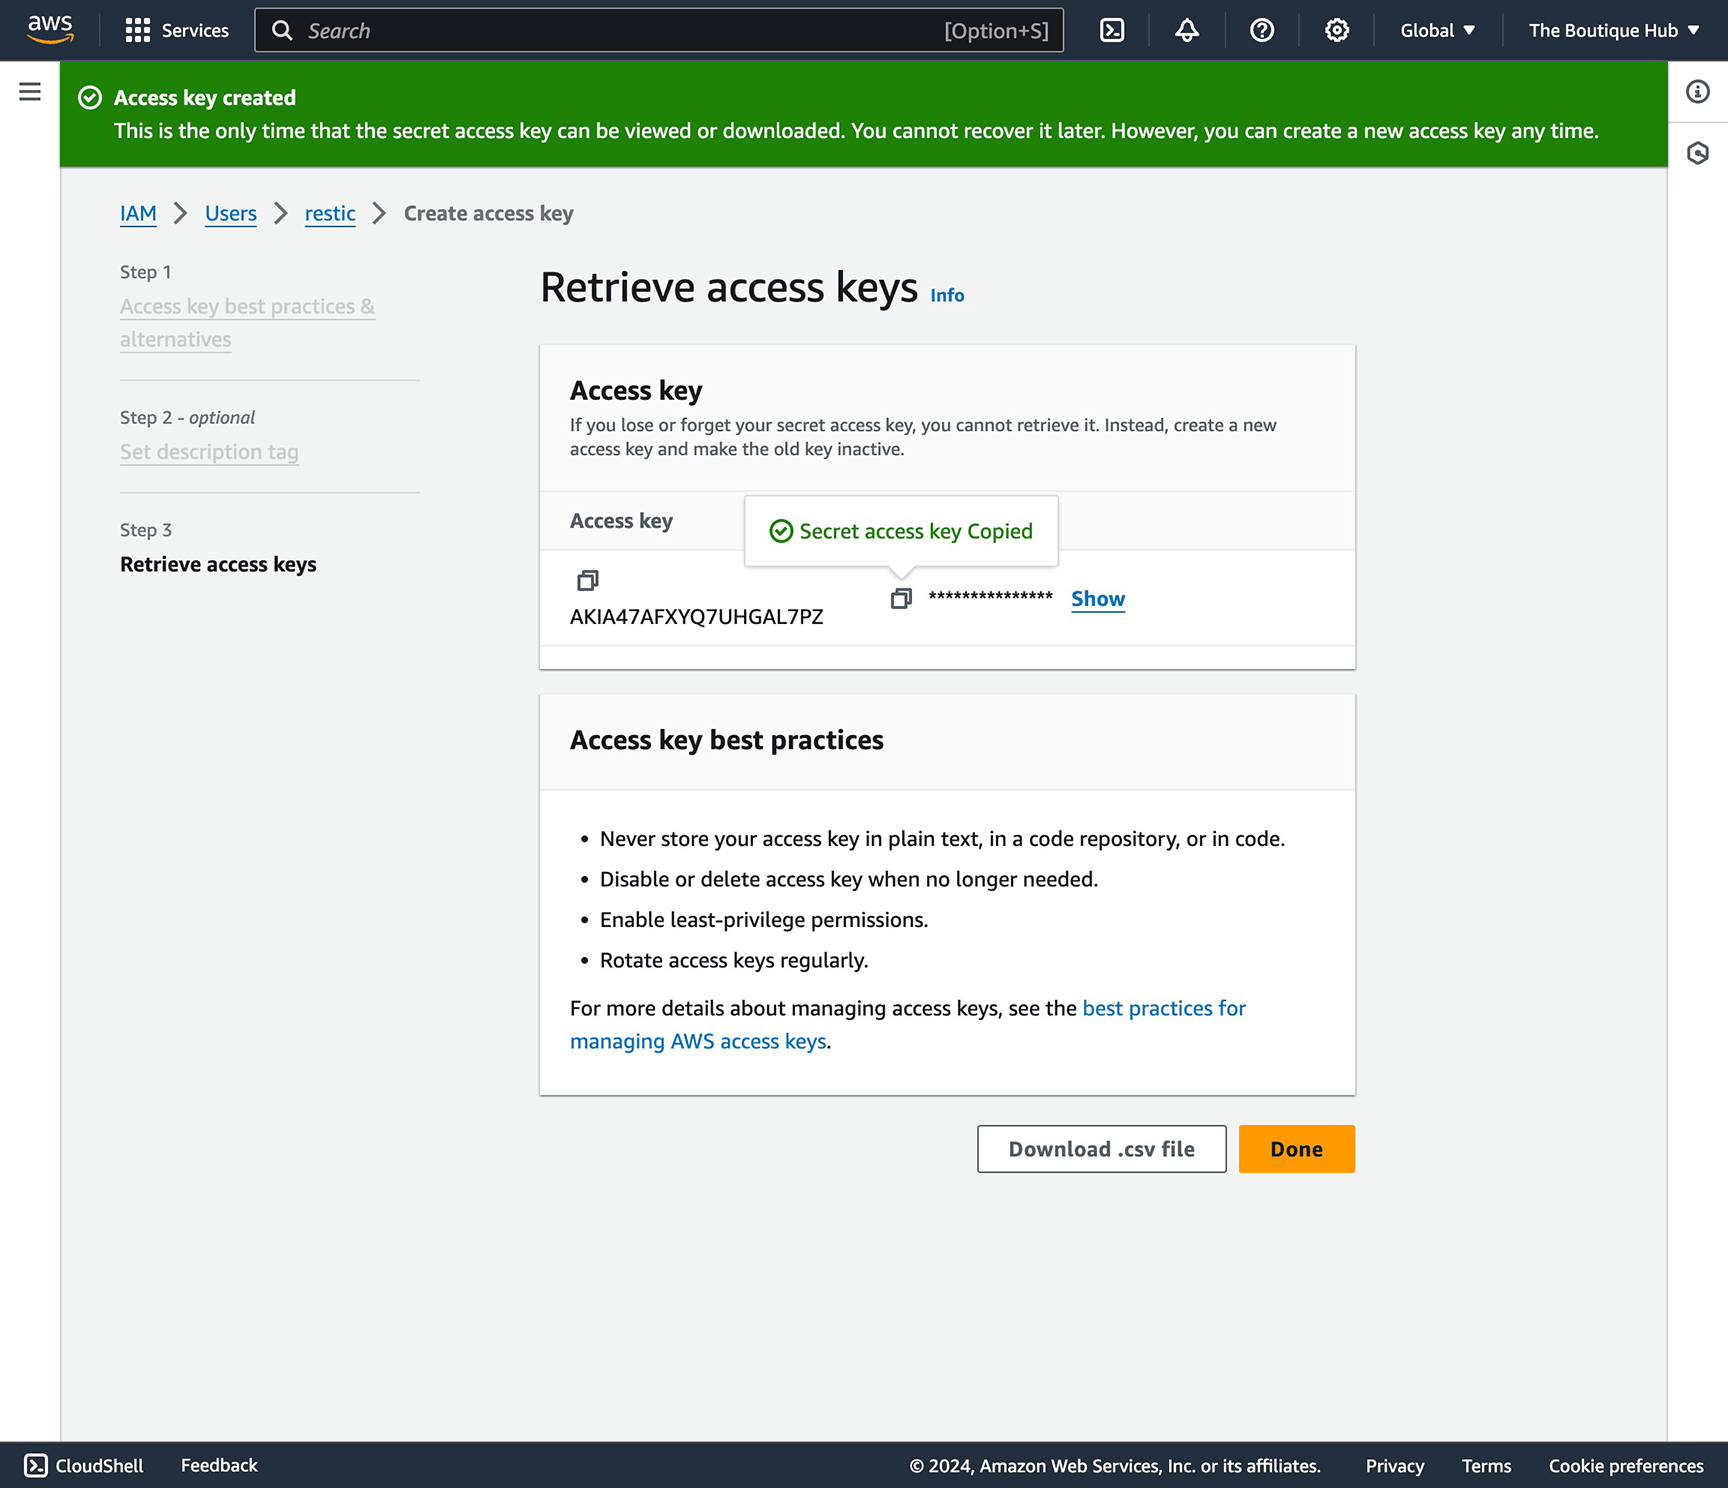
Copy the Access key and Secret access key. You'll use these in your Restic configuration.
Install and configure Restic
These instructions are for Ubuntu, using the repository version of Restic.
1sudo apt install resticAs of January 15, 2024, the repository version of Restic is 0.12.1 which was released in August 2021. This is significantly behind the official source, which is 0.16.3. I decided to install the repository version because it's easier, but you can also download official binaries and install it manually.
To download the latest version, locate the latest release and find the appropriate file for your architecture. For example, I found 0.16.3 for amd64.
1wget https://github.com/restic/restic/releases/download/v0.16.3/restic_0.16.3_linux_amd64.bz22bzip2 -d restic_0.16.3_linux_amd64.bz23mv bzip2 restic_0.16.3_linux_amd64 /usr/bin/restic4restic versionGenerate a password for your backups:
1openssl rand -base64 32You'll now set up a bash script that loads some environmental variables for Restic to use. Edit a file ~/.restic.env in your favorite editor and add these contents:
1export AWS_ACCESS_KEY_ID="your access key"2export AWS_SECRET_ACCESS_KEY="your secret key"3export RESTIC_REPOSITORY="s3:https://s3.amazonaws.com/benholmen.server-name.backup/restic"4export RESTIC_PASSWORD="your password here"I chose to put my Restic backups in a restic folder; you can drop that if you want to only use this bucket for Restic backups. In my case, I'm also using Laravel Forge to backup MySQL databases.
Make your first backup
Before running Restic commands in an ssh session or cron job, you'll need to pull in the .restic.env variables. This command will set the variables in your current session, so that they're available to Restic.
1source ~/.restic.envYou'll need to initialize a Restic repository once:
1restic initYou can now run a backup:
1restic backup /homeRestoring a backup
Each time you make a backup, Restic stores a snapshot of the changes. To see what's available, list the available snapshots:
1$ source ~/.restic.env 2$ restic snapshots 3repository 42424242 opened successfully, password is correct 4ID Time Host Tags Paths 5-------------------------------------------------------------------------------------- 67498e76f 2024-01-11 20:22:22 sample /etc/nginx 7 /home/forge/sample-site.com 8 9419aa26b 2024-01-11 23:00:01 sample /etc/nginx10 /home/forge/sample-site.comYou can then choose a specific snapshot to restore from, or just the latest:
1source ~/.restic.env2restic restore latest --target output-directory # Restore everything from the latest snapshot3restic restore [snapshot id] --target output-directory # Restore everything from a specific snapshotYou can also restore a specific file:
1source ~/.restic.env2restic restore latest --include [path to file] --target output-directory # Restore specific file from the latest snapshot3restic restore [snapshot id] --include [path to file] --target output-directory # Restore specific file from a specific snapshotSchedule backups
Now that your configuration is working, you can schedule backups with cron. Edit your crontab:
1crontab -eAdapt this command to suit your schedule and what you want to back up. This command does the following every hour:
- Loads
.restic.envconfig file - Backs up nginx config and a web folder
- Sends error output to
~/restic.error.log - Sends all other output to
~/restic.log
1# m h dom mon dow command20 * * * * . ~/.restic.env && restic backup /etc/nginx ~/sample-site.com/ 2>> ~/restic.error.log >> ~/restic.logPrune your backups
If you run this indefinitely, your backups will keep increasing in size. You can prune old backups with some very flexible config - I recommend you read the docs. Here's the config I settled on, installed in my crontab:
1# m h dom mon dow command21 0 * * * . ~/.restic.env && restic forget --keep-last 10 --keep-daily 30 --keep-monthly 12 2>> ~/restic.error.log >> ~/restic.logThis will keep the last 10 backups, one backup per day for the last 30 days, and one backup per month for the last 12 months.
Popular Posts
- Pairing with Strangers (the Pair-amid Scheme)
- Defragment your PHPUnit tests
- A manifesto on shower temperature control
Recent Posts
- Just how old is a 45 year old soup (and would you eat it)
- Growing Into a Leadership Role, and Pairing With Strangers - The Business of Laravel Podcast
- Timezone Management in Laravel - for Laravel News
- Migrating from Homebrew MySQL/Meilisearch/Redis to Laravel Herd Pro Services
- Fluently removing global scopes with Laravel's new ScopedBy Attribute